These bargain Weekly To Do sheets have really set me off on trying to design the ideal working set-up for me. I primarily don't want to waste paper, I want to write down only things that are relevant to me and I want the whole process of using my Filofax to be easy and enjoyable.
Idea 1 - use half sheets of A4 paper as a fold out. I sketched (scribbled) out a rough design on some old printed paper - section for day notes at the top left, to do's bottom left and a section for tasks on the right. There's plenty of room to record other things so I know this size of paper would be OK.

Folded over the back could be used for a notes section.

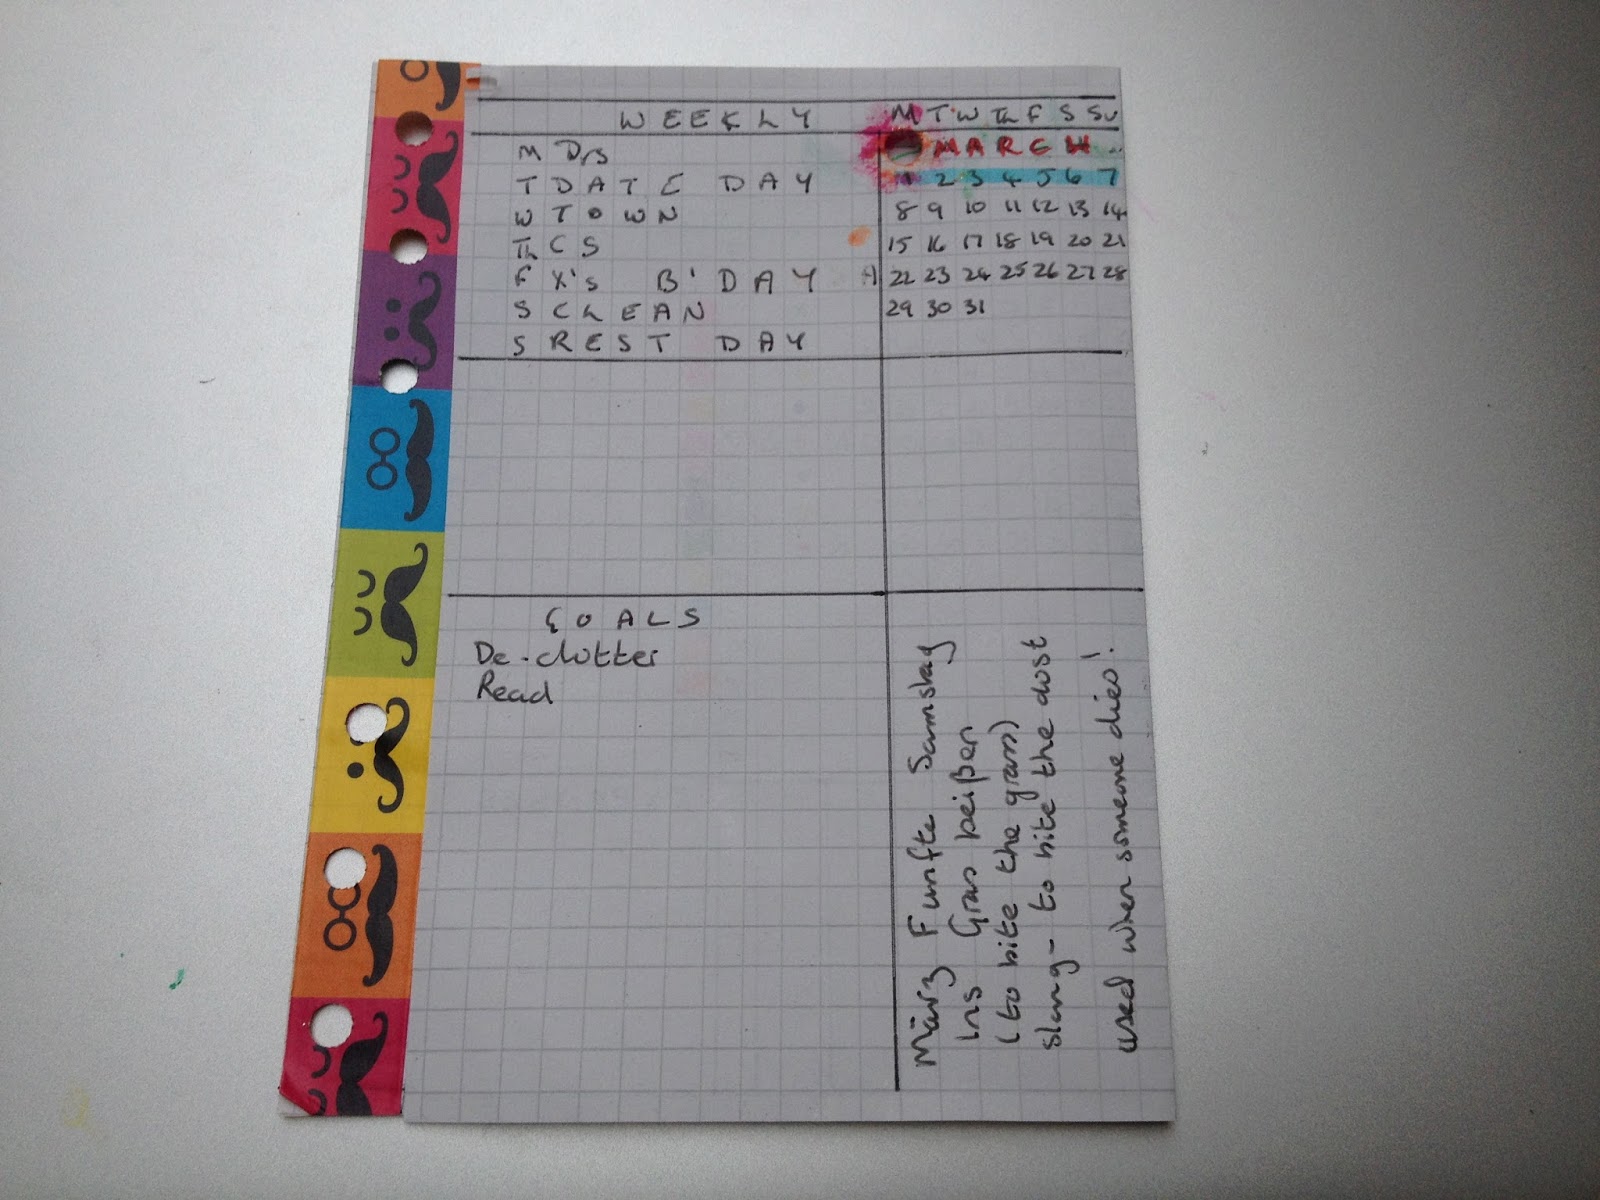
Idea 2 - Put a daily tasks section on the bargain pages and use their notes section as an At A Glance view of the week with dates to the left. Here I've filled in an Ebay watch, a pick up pills day, a funeral and a birthday. Plenty of room. The tasks section has the letters of the days of the week so I can fill in which tasks I've completed. Again there's plenty of room still on this section so I used the bottom of the page for some lettering practice.

My week's going well so far with this set-up. I've put some To Do's (There really shouldn't be an apostrophe there, should there?) To Dos? To Does? (No, that's not right either!) These 'I'd like to get these done' tasks can be done on any day of the week so there's no particular urgency to any of them. Filling up nicely now!
 |
| Can you see the water intake column? |
The back side of the page I used for notes - in this case a recipe and some language homework.

The page then reminded me of some examples of organiser pages I've seen on the Internet where things pull out all over the place so …
Idea 3 - on the back of my bargain page why not have a monthly planner on a side that's coming up to a new month. This can then open out and be seen with the weekly planner. Hey, hey, hey! In the spare space I put a Monthly To Do heading so 'goals for the month' can be listed.

Idea 4 - let's try out a version of my own. This time I chose squared paper pulled out of a notebook. I could now utilise all the space as it has no borders. For my 'decoration' I put some tape down one side and attempted to draw a pretty flower at the top.
Top left is the week number and some spaces for days. By the side of these spaces I could colour in my water intake (All good planners seem to want to monitor their water intake.) I could fit in a space for Tasks with a colour coding system and with a timing system by the side on the left. At the bottom there's plenty of room for other headings. I've fitted in expenses in the bottom right.

On the back I've got a weekly At a Glance, a Weekly Review and more spaces for monitoring, tracking or listing. Oh, wait a minute, I'll just open it out.

Sorry the pic's a different colour, I've just taken it now.

Idea 5 - The streamlined version. After further study of Weekly Pages I tried a simple, no frills version. Here the days go all the way across the page - I've not sectioned anything off yet. At the bottom will be some more spaces for appointments, dates and To Do's. The labels can be changed or added to - whatever I wish each week.

On the back, of course, there's acres more space for more headings.


These fold out pages lend themselves to endless uses. For now, I'll use up my Bargain Weekly pages from Home Bargains and tailor them to suit my needs each week.
Happy Planning!
No comments:
Post a Comment